
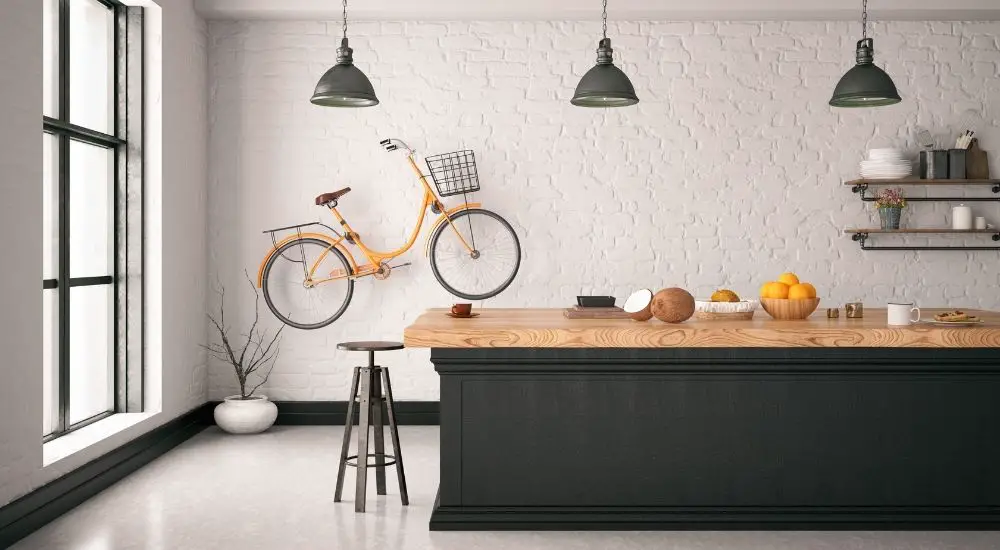
Having a dream kitchen sometimes feels like just that, a dream. But with a little patience and creativity, you can turn your vision into a reality. When it comes to kitchens, it’s all in the little details. With careful attention, small changes transform a space from average to stunning.
Countertops are one key aspect that can make your kitchen shine–literally. But, also they need to be functional and strong enough to handle the wear and tear of everyday kitchen use.
That’s why epoxy countertops are the new trend that we can’t get enough of.
Epoxy is a fantastic finish for a countertop because of its durability and its long-lasting shine. It also allows you to customize your pour to match whatever style you’re looking for.
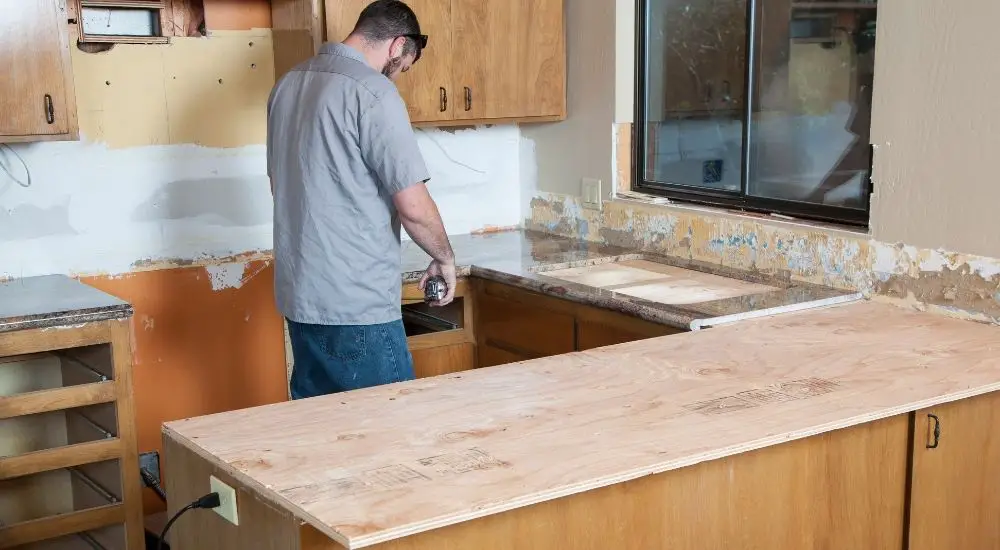
A quick tip before we dive in – epoxy projects are all about the preparation. The perfect prep leads to the perfect pour!
Materials and Supplies Needed:
- 80- and 220-grit sanding sponges
- Four one-quart cups
- Isopropyl alcohol
- Painter’s tape
- Plastic sheeting to protect other surfaces
- A spray bottle
- Two two-gallon buckets
- Deep Pour Epoxy
Getting Started
The most important parts of creating your ideal epoxy kitchen countertop come before any epoxy has been poured. Working with epoxy allows you to create a completely custom look, but it does require that you monitor your working time and run a few tests before the big pour.
Checklist Before You Start
- Know the correct quantity of epoxy. With specific working times, it’s crucial that you understand how much epoxy you need before you begin your pour. Use our recommended calculator here.
- Test your colors. One of the best parts about a custom epoxy countertop is that you customize the design from start to finish. But coloring can be finicky, that’s why before adding the color to the full mixture, it’s wise to start with a small sample. You’ll be able to get a gauge for how deep you want the color and to practice the ratios. Make sure to take the sample into the kitchen so you can see how it looks in the room’s lighting.
- Prep the area. One of the benefits of using epoxy is its self-leveling properties. But that means your epoxy pour will run off the edges of your surface. It’s important to cover all areas that you don’t want to be covered in epoxy. Also, you need to seal off the edges of your countertop with painter’s tape to save as much epoxy as you can.
- Read the bottle. Each epoxy is unique and each epoxy has a different set of ingredients. Look into any epoxy before purchasing it to make sure that it’s reputable and well-liked. Each epoxy also has different directions to get that perfect pour, so be sure to read the directions thoroughly.
The Perfect Pour
Now that you’ve prepped your surface and measured out your epoxy, you’re ready to pour.
The first step is mixing your epoxy. Epoxy comes in two parts, typically combined in a simple ratio. We recommend using two different gallon buckets. If you have one, a steel spiral mixing arm can get your mixture crystal clear.
Next, you can add in the color of your choosing (remember to test a sample first)!
Once you’re happy with the final color, it’s time to pour. When you begin your pour, keep your mixture close to the target surface. This reduces the amount of air that can enter the poured epoxy, reducing the number of air bubbles.